“When black cats prowl and pumpkins gleam, may luck be yours on Halloween” – Author Unknown.
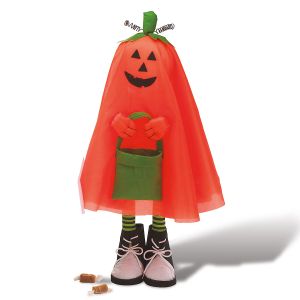
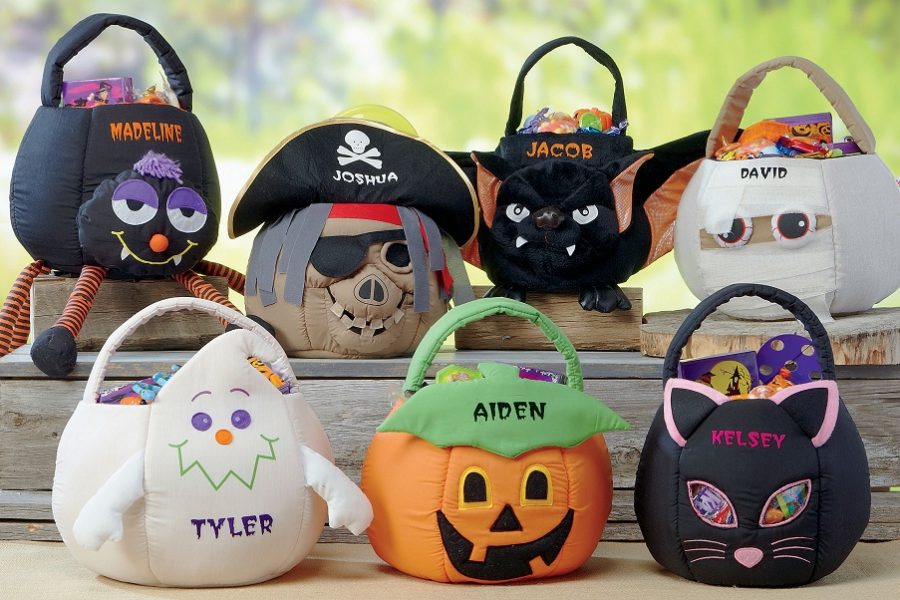
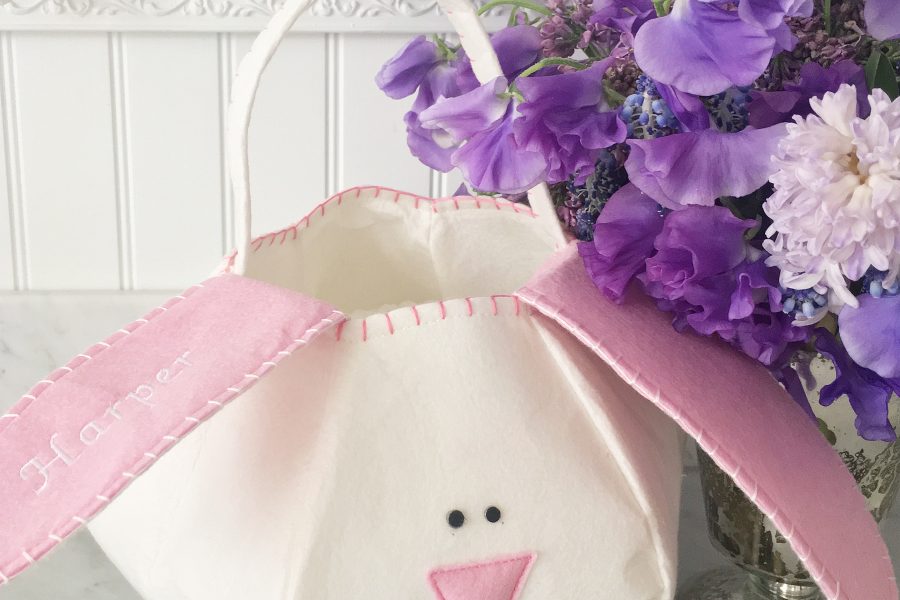
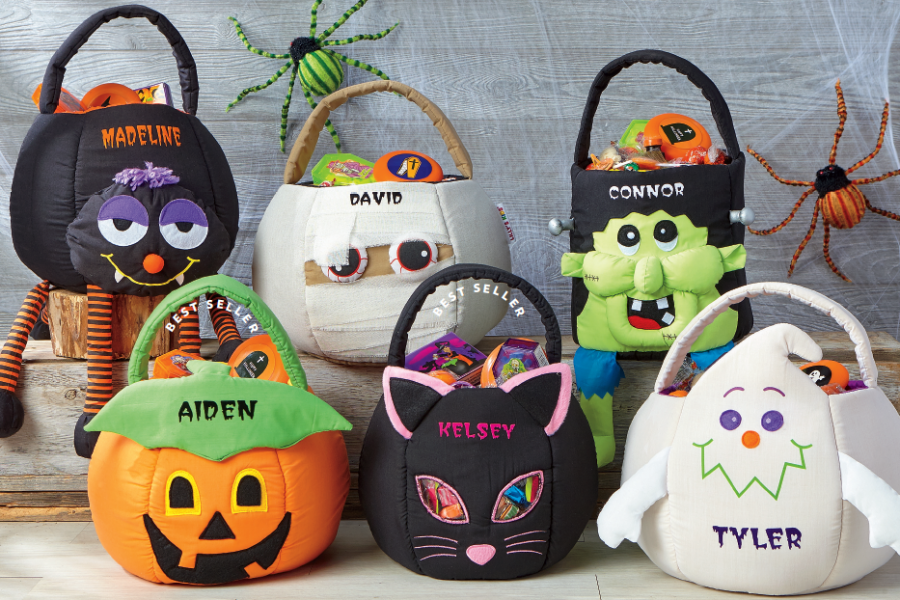
Folks, it’s that time again – trick or treating is just around the corner, and Lillian Vernon has all your Halloween needs to do the holiday up right, whether you like to go dark and spooky or light and fun. Part of the fun of Halloween is dressing up in a costume of your choice and becoming whomever you want to be for a night. Go ultra-scary in a wicked witch costume complete with pointy hat, hooked nose, long scraggly hair and facial warts, or keep people guessing who you are all night with a ghost or pumpkin Trick or Treat pal costume. Is sweetness more your thing? Our Halloween treat bags can be either spooky or sweet, your choice! Be a princess with her very own Personalized tutu treat basket, or a scary green monster with a personalized Frankenstein treat basket. Use your imagination and transform yourself into whatever you’ve always dreamed of! You can make yourself a character from medieval times, or a tree in the forest. A wise old owl, a Prince Charming, a biker babe, or a frog waiting to be kissed. This is one night where anything goes!

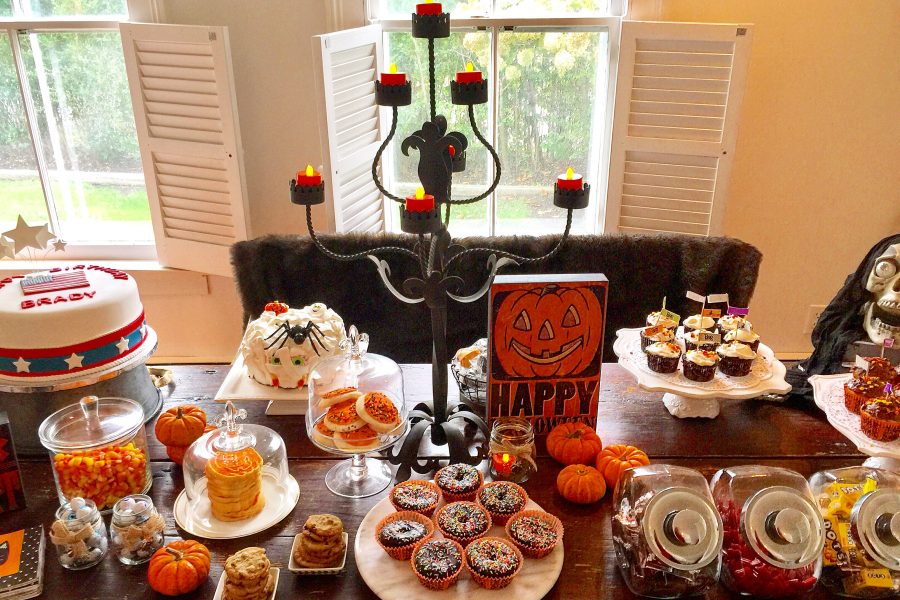
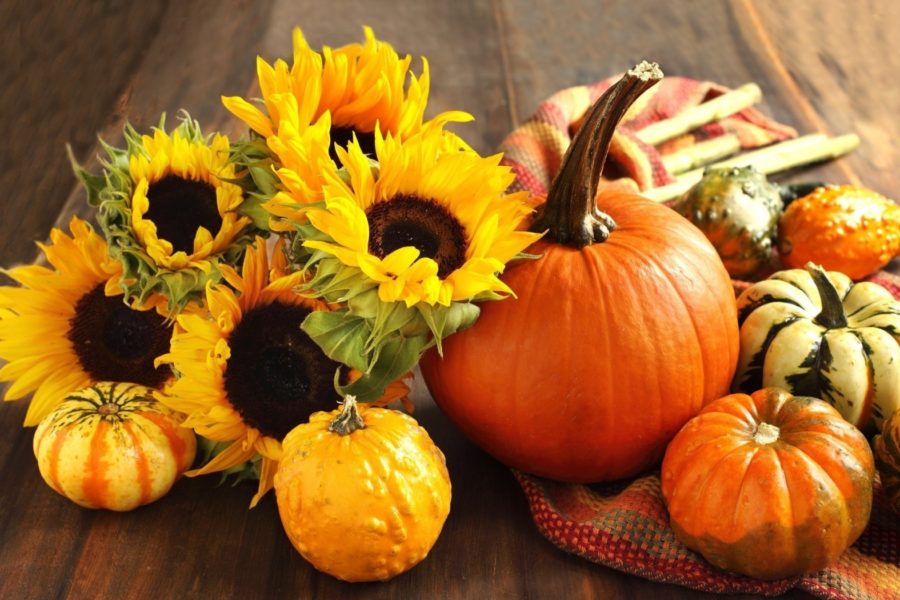
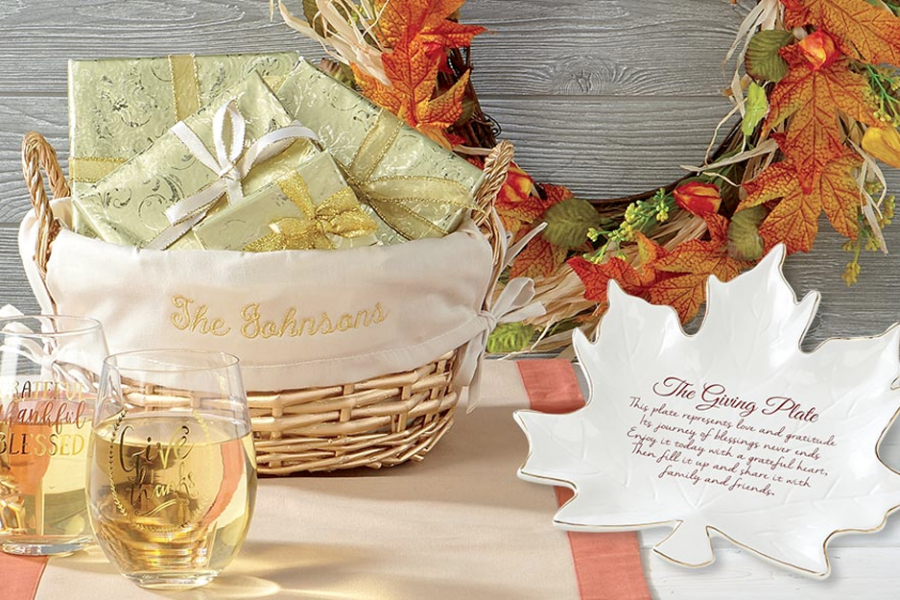
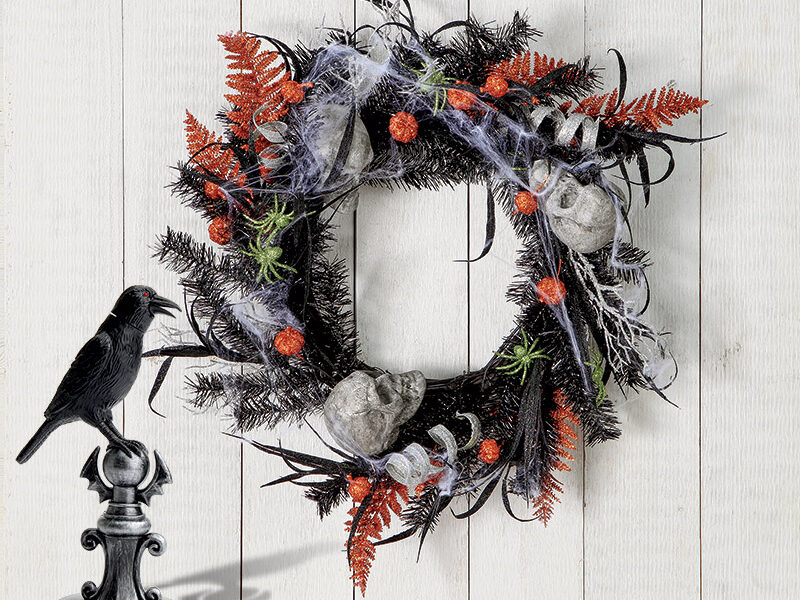
Another perk of Halloween is that it’s the first opportunity of the season to decorate. Welcome trick or treaters to your door with a Halloween hanging stone that’s both scary and sweet. Take a cue from nature and bring in some glowing fall colors to decorate your home. Add a natural, whimsical touch with a perfect Halloween craft project the kiddos will love. Just a hot glue gun and a few things from your back yard and you can make a pinecone family with googly eyes, twig arms, and dry moss for hair. Grab some Halloween felt bottle covers or witch bottle toppers to dress up your adult beverages and decorate your table with a spooky spider web table runner. Serve up some special drinks in a personalized “witches brew” galvanized tub and serve it up in adorable Halloween stemless wine glasses.
Looking for some sweet and spooky treats to make for your Halloween party this year? We’ve got some great recipes for you to try:
Graveyard Cake from Taste of Home
Ingredients:
2 cups all-purpose flour
2 cups sugar
1 teaspoon baking soda
1/2 teaspoon salt
1 cup butter
1 cup water
1/4 cup baking cocoa
1/2 cup sour cream
2 large eggs
1/4 cup butter
3 tablespoons whole milk
2 tablespoons baking cocoa
2 cups confectioners’ sugar
1/2 teaspoon vanilla extract
18 Oreo cookies
Black decorator’s icing or gel
9 cream-filled oval vanilla sandwich cookies
1 cup whipped topping
Pumpkin
candies and gummy worms, optional
Directions:
- In a bowl, combine flour, sugar, baking soda and salt; set aside. In a saucepan, combine butter, water and cocoa; bring to a boil over medium heat. Add to flour mixture; beat well. Beat in sour cream and eggs.
- Pour into a greased 13×9-in. baking pan. Bake at 350° for 35-38 minutes or until a toothpick inserted in the center comes out clean. Cool on a wire rack for 5 minutes.
- Meanwhile, in a saucepan, combine butter, milk and cocoa; bring to a boil. Remove from the heat; stir in sugar and vanilla. Pour over warm cake. Crumble chocolate cookies; sprinkle over frosting while still warm. Cool completely.
- For tombstone, use icing to decorate vanilla cookies with words or faces; place on cake. For ghosts, make mounds of whipped topping; use icing to add eyes and mouths as desired. Refrigerate for at least 1 hour. Just before serving, add pumpkins and gummy worms if desired.
Rice Krispies Treat Mummies from Crème de la Crumb
Ingredients:
6 snack-size Rice Krispies treats
3 cup white chocolate chips
black edible piping gel or icing (found near cake decorating supplies)
optional: red food coloring
Directions:
- Unwrap treats and set aside. Place white chocolate chips in a microwave-safe bowl and microwave on half power for 2 minutes. Stir and return to microwave for 20 seconds at a time (still on half power) stirring after each until chocolate is completely melted and smooth.
- Dip treats in the melted chocolate being sure to coat the front and sides (the back side can remain uncovered). Place uncovered-side-down on a foil-lined plate or small baking sheet.
- Repeat process with remaining treats. Transfer plate/baking sheet to fridge or freezer to cool for 2-3 minutes.
- While treats are cooling, spoon melted white chocolate into a small zip lock bag. Remove treats from fridge/freezer. Use scissors to snip off a tiny bit of one bottom corner of the chocolate-filled bag, then drizzle chocolate in a random pattern over the treats to create the look of mummy wrapping. Return treats to fridge or freezer for 1-2 minutes.
- Pipe two dots onto each treat to create mummy eyes. (Optional step, dip a Q-tip in red food coloring and dap two dots onto the treats before adding the eyes to create a creepy “bloodshot” look.) Serve or store in airtight container up to 1 week.
For a sweet treat you can eat or use to decorate your table – or both – these hay bales are the perfect choice for your Halloween treat table.
Teeth and Mouth Snacks from Surviving a Teacher’s Salary
Ingredients:
1 apple
1 jar of peanut butter or other “butter” choice
1 bag of mini marshmallows (use multi-colored marshmallows for a spookier look)
Directions:
- Start by cutting the apple into small slices. An apple slicer makes this job kid-friendly and offers a more uniform look.
- Spread about a teaspoon or two of peanut butter on one side of the apple. Then put a row of mini marshmallows across one apple slice.
- Spread peanut butter on another slice of apple and sandwich them together (one apple slice with peanut butter and marshmallow “teeth” and one slice with just peanut butter). Press firmly until they stick together, and you have your spooky smiles!
Whatever you eat, wherever you trick or treat, whether you decide to be spooky or decide to be sweet, we hope you and your crew have a “howling good time” this Halloween! Stay safe out there, and Happy Halloween!